Glamping sounds simple: show up, sleep in a stylish tent, enjoy the fresh air. Yet first-timers regularly book the wrong season, pack way too much and overspend, turning what should be a luxury escape into a stressful trip. A one-night stay that turns out to require two nights, or a canvas tent with no heating in a cold snap, can sour anyone on the whole idea.
This guide to glamping for beginners walks through the mistakes that trip up newcomers most often. We’ll cover what different glamping units actually include, when to book and why timing matters, how to match the season to your destination, what a realistic budget looks like, what to pack (and what to leave at home), and how to choose the right unit for your first trip. A short recap at the end pulls the key advice together so you can plan with confidence.
What Glamping for Beginners Actually Includes
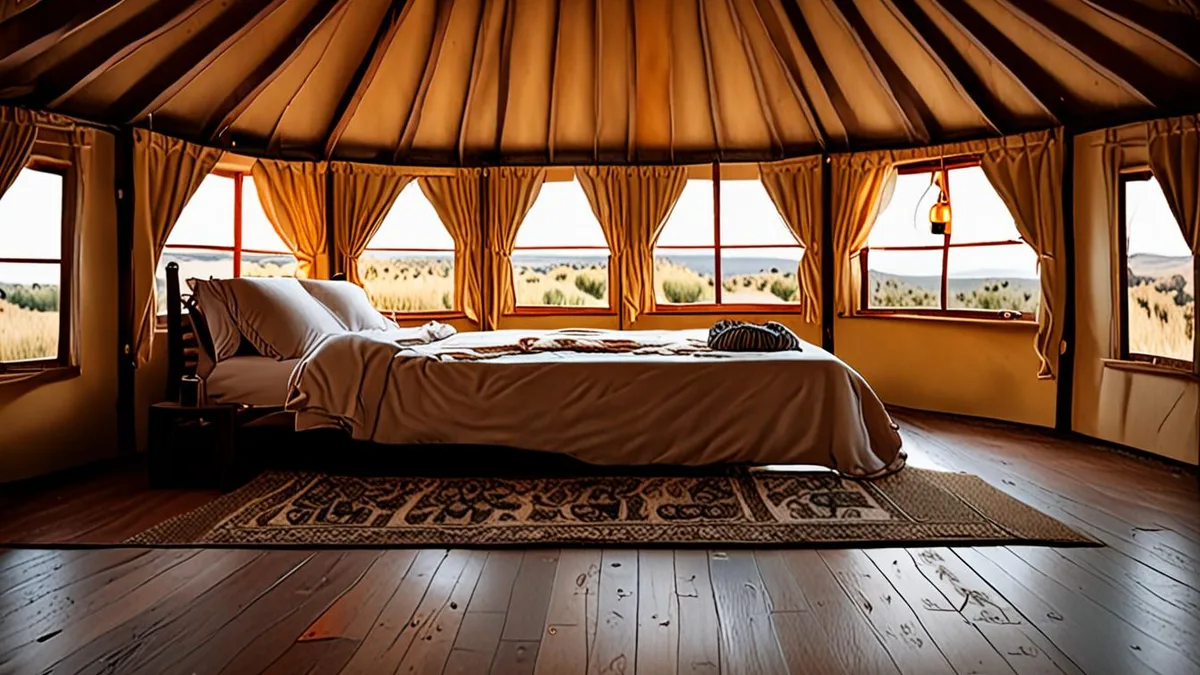
Glamping covers a surprisingly wide range of accommodations. On one end you’ll find safari tents and yurts, which offer canvas walls, real furniture and often a wood stove. On the other end sit fully built cabins and polished Airstream trailers that feel closer to a small hotel room. In between are geodesic domes, bell tents and converted trailers, each with its own comfort level.
What usually comes with the unit
The good news for beginners: most glamping units include real beds with proper bedding, plus towels, and often basic kitchenware. Many first-timers haul sleeping bags, pillows and camping cookware to a site that already provides all of it. That’s wasted car space and unnecessary stress.
Check the details before you book
What’s included varies widely between sites, so read the listing carefully. Heating can mean a wood stove, an electric heater or nothing at all. Electricity might run throughout the unit or only to a single lamp. A private bathroom is standard at some properties, while others use shared washroom blocks a short walk away. Kitchen access ranges from a full shared kitchen to a simple fire pit with a grill grate. Confirm these points before booking, and you’ll know exactly what to expect — and what to pack — when you arrive.
Booking Mistakes: Timing and Lead Times
The most common beginner error in glamping is booking too late. Summer weekends at popular sites typically sell out 2-3 months ahead, so a spontaneous Friday-night search in July usually leaves you with slim pickings or nothing at all. If you have your heart set on a specific property or region, plan early rather than hoping for a cancellation.
The two-night surprise
Here’s a mistake that catches many first-timers off guard: many sites enforce a minimum 2-night stay on weekends. You might find availability for a Saturday night, only to discover at checkout that the site requires both Friday and Saturday. Before you fall in love with a listing, check the minimum stay policy so your one-night plan doesn’t fall apart.
Book smarter in the shoulder season
If your dates are flexible, aim for May or September. These shoulder-season months offer milder weather in most regions, and sites are much easier to book than in midsummer. Rates are often 20-40% lower than peak June-August prices, which means the same safari tent or dome can cost significantly less for the identical experience. For a deeper look at how timing shifts by destination, this guide on when to book glamping by region breaks it down further.
Choosing the Wrong Season for Your Destination
Peak season in most US and European regions runs June to August, and that’s exactly when glamping is at its most crowded and most expensive. Popular sites fill every unit, shared facilities get busy, and you pay top rates for the privilege. If your schedule allows, shifting your trip even a few weeks can transform the experience.
Destination matters just as much as the calendar. Desert and southern destinations are far better in spring and autumn, when temperatures are pleasant and the landscape is at its best. In summer, canvas tents in these regions can become uncomfortably hot during the day, and sleeping can be difficult when the air inside the tent stays warm well into the evening.
Nighttime temperatures deserve special attention, even at destinations that seem reliably warm. Mountain and coastal sites can drop below 10°C even in July, which feels cold in a canvas tent without proper bedding or heating. Check the average overnight lows for your specific location, not just the daytime highs, before you commit to dates.
- Ask about cooling and heating. Some units include fans, air conditioning or a wood stove; others rely on open windows, which matters greatly in hot or chilly regions.
- Consider insect season. Late spring near lakes and wetlands can mean more mosquitoes, so sites in those areas are often more comfortable in late summer or early autumn.
- Think about daylight hours. Early sunsets in autumn limit evening time around the fire, while long summer evenings give you more hours to enjoy the site after dinner.
Budget Mistakes: What Glamping Really Costs
One of the biggest surprises for first-time glampers is the price tag. Standard glamping typically runs $100-$300 per night, and luxury domes or lodges can exceed $500. If you’re picturing a budget camping trip with a nicer tent, adjust your expectations before you start browsing.
The mistake many beginners make is looking at the nightly rate instead of the total stay. Weekend minimums are common at popular sites, which means a unit at $250 per night can easily become a $500 weekend before you’ve eaten a single meal. Always multiply the rate by the required number of nights and add any cleaning fees before deciding whether a site fits your budget.
Check What’s Actually Bundled
Two sites with identical nightly rates can cost very different amounts in practice. Meals, activities like kayaking or guided walks, firewood, and even extra firewood deliveries are sometimes charged separately. A slightly pricier site that includes breakfast and firewood can end up cheaper than a bargain rate where everything is an add-on.
Read the listing carefully and add up the extras for your planned stay. If you want a deeper breakdown of what different unit types and regions typically charge, this guide to typical glamping prices walks through the numbers in more detail. And remember, shifting your dates into the shoulder season is usually the easiest saving of all.
Packing Mistakes: Too Much or Too Little
Packing for glamping trips people up in both directions: some arrive with a car full of camping gear they’ll never touch, others show up shivering because they assumed “glamorous” meant “warm.” The fix starts with the listing. If bedding, towels and basic kitchenware are confirmed as included, leave yours at home. Most units provide them, and that space is better used for clothing layers, which you will actually need.
Layers matter because canvas walls insulate differently from a hotel room. Mornings can be chilly even when afternoons are pleasant, especially outside the June to August peak, and mountain or coastal sites can stay cool after dark even in midsummer. A warm jacket, a beanie and sturdy shoes will do more for your comfort than a third change of clothes ever could. If you’re traveling in May or September, when weather and rates are both milder, pack as if it were two seasons in one trip.
Small Items That Make a Big Difference
- Headlamp or small flashlight: many sites have low lighting on paths between units, so you’ll want hands-free light for late-night bathroom trips.
- Power bank: outlets aren’t always placed near the bed, and some rustic units have limited charging spots altogether.
- Reusable water bottle: not every site has a tap right outside your door, and refilling beats buying bottled water.
- Book or downloaded entertainment: Wi-Fi can be slow or nonexistent at remote sites, so have a backup plan for evenings.
If you want a printable version of all this, our complete glamping packing checklist covers everything from first trip basics to off-season extras. Pack light, pack layers, and you’ll be comfortable in almost any unit.
Choosing the Right Unit for Your First Trip
With hundreds of unit types out there, choosing your first one can feel overwhelming. Here’s a simple rule: for your first trip, prioritize comfort over charm. Pick a unit with heating and a real bathroom rather than the cheapest canvas option on the list. A cold night in a basic tent with a shared restroom two fields away is the fastest way to write off glamping forever. Save the rustic options for trip number two, once you know what to expect.
Read the Reviews Like a Detective
Photos never tell the whole story. Recent reviews will, so scan them for three specific things: noise, insects and temperature swings. A dome that looks dreamy in pictures might sit right next to a busy road, or a safari tent might turn into a sauna by mid-morning. Guests who stayed in the last few months will mention these issues honestly, and their comments are worth far more than any listing description.
Also match the unit to your group. A couple will be perfectly comfortable in a dome or a safari tent with one proper bed. Families should look at cabins or multi-room yurts, where kids get their own sleeping space and everyone isn’t tripping over each other at 6 a.m. Booking a unit that’s too small to save money usually costs you sleep, and a tired family is not a happy one.
Get these three choices right — comfort level, honest reviews, and the right size — and your first glamping trip has every chance of becoming a tradition rather than a one-off experiment.
Wrapping Up Your First Glamping Trip
Glamping should feel like an easy upgrade from camping, not a stressful scramble. Most first-trip problems come down to three things: booking the wrong season, packing too much and overspending on a stay that wasn’t what you expected. The good news is that all three are avoidable with a little planning before you click “book.”
Start by booking 2-3 months ahead for summer weekends, or aim for May or September to save 20-40% on rates. Budget $100-$300 per night for a typical stay, and confirm exactly what’s included before you pack so you’re not hauling bedding and towels you’ll never use. Choose a heated unit with a real bathroom for your first trip, and pack light with layers first. Get those basics right and your first glamping getaway will feel like the luxury escape you planned. Have a first glamping trip story or a question? Share it in the comments below.